
I want my signed-document to be safely storing, legible for years, with high confidentiality, uniqueness, authenticated and get free access anytime from anywhere.
Why we need it?
Sometimes, we want to seal stamp an important document or photo we have. It can be a contract, business plan, will, marriage oath, love promises, a photo of an ID, photo of a car license, or any other doc or photo we would like to have a digital signature on it.
Standard doc vs. digital signed document
Standard unsecured document can be changed. After signing it, several restrictions will be added to the document so you can be sure (also legally) that you are looking at the original document even after many years.
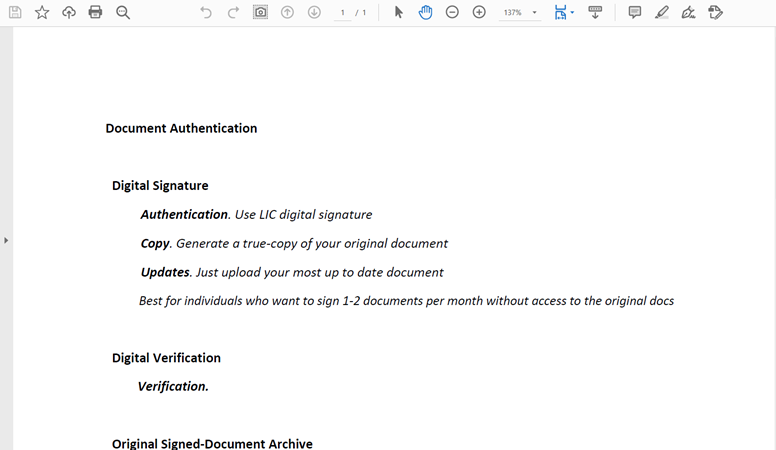
An unsecured document looks like this:
Unsecured document
Digital signature is NOT VALID
A document with invalid certification looks like this:
Invalid certification Digital signature is NOT VALID

A secured document with valid digital signature (even if the issuer is not unknown) looks like this:
Digital signed document
Digital signature issuer is not appeared in the “Trusted Certificates” list at your computer
Digital signature is VALID
A secured document with valid digital signature with known issuer looks like this:
Digital signed document
Digital signature issuer appears in the “Trusted Certificates” list at your computer
Digital signature is VALID

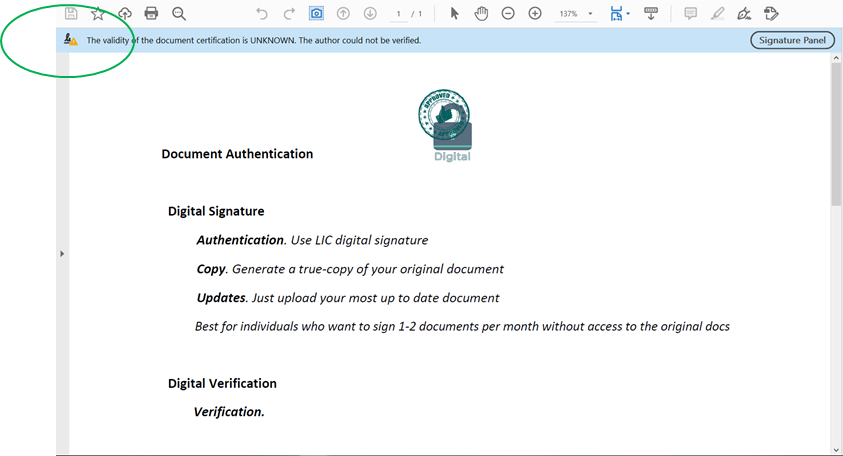
what to do when you get this message?
“The validity of the document certification is UNKNOWEN. The author could not be verified”.
What does it mean?
This comment pop out when the digital signature issuer is not appeared in the “Trusted Certificates” list at your computer.
What should I do?
There are two options:
1. Ignore. You can ignore this comment. Although the validity of issuer is not verified, the document is digitally signed and its authentication can be approved.
2. Add to “Trusted Certificates” list. You can add the issuer to our “Trusted Certificates” list by few steps:
Step 1
Click on the signature

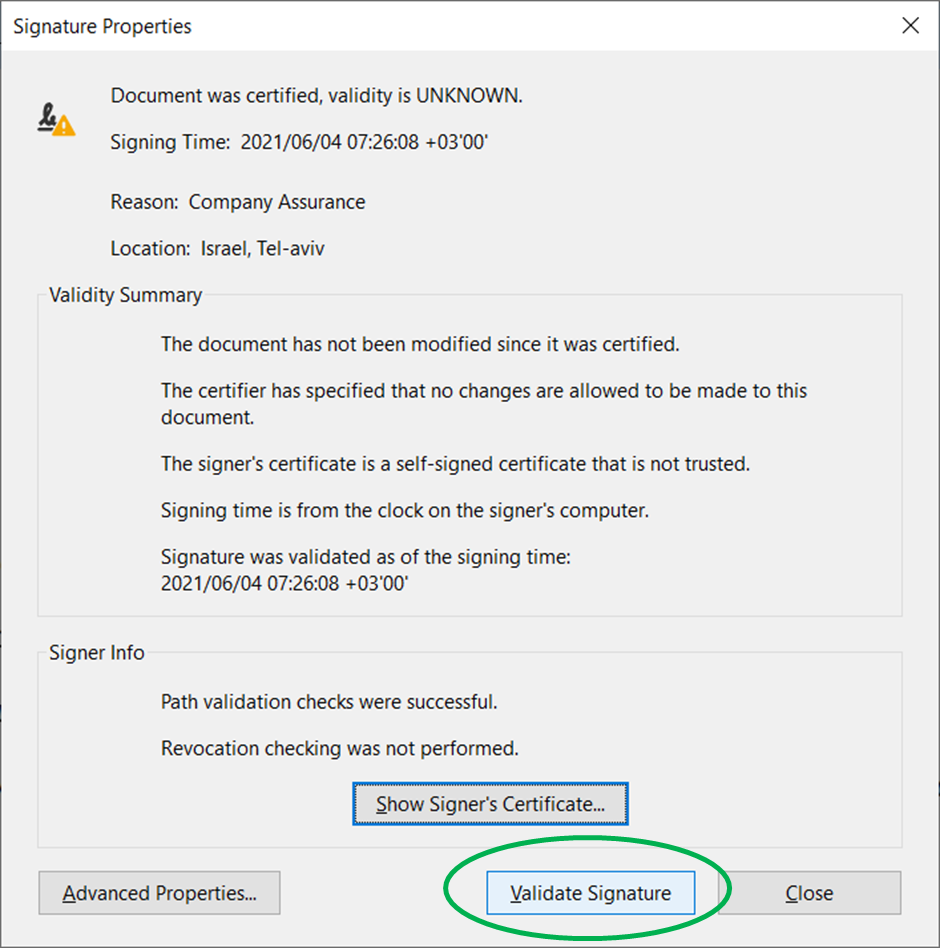
Select “Signature Properties…”
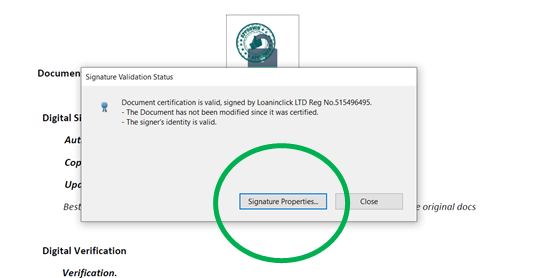
Step 2 Click on “Show Signer’s Certificate…”

Step 3 Select the “Trust” tab. And click on “Add to Trusted Certificates…”

Step 4
You will get the following security message. Click “OK”.

Step 5 Verify all the boxes are checked. Click “OK”.

Step 6 Click “OK”.

Step 7
Click “Validate Signature”.
Step 8 You made it!

The next time you click the digital signature you will get the signature validation status – “… is valid…”:

That means your document is:
- secured
- has valid digital signature
- the issuer is known
Comments